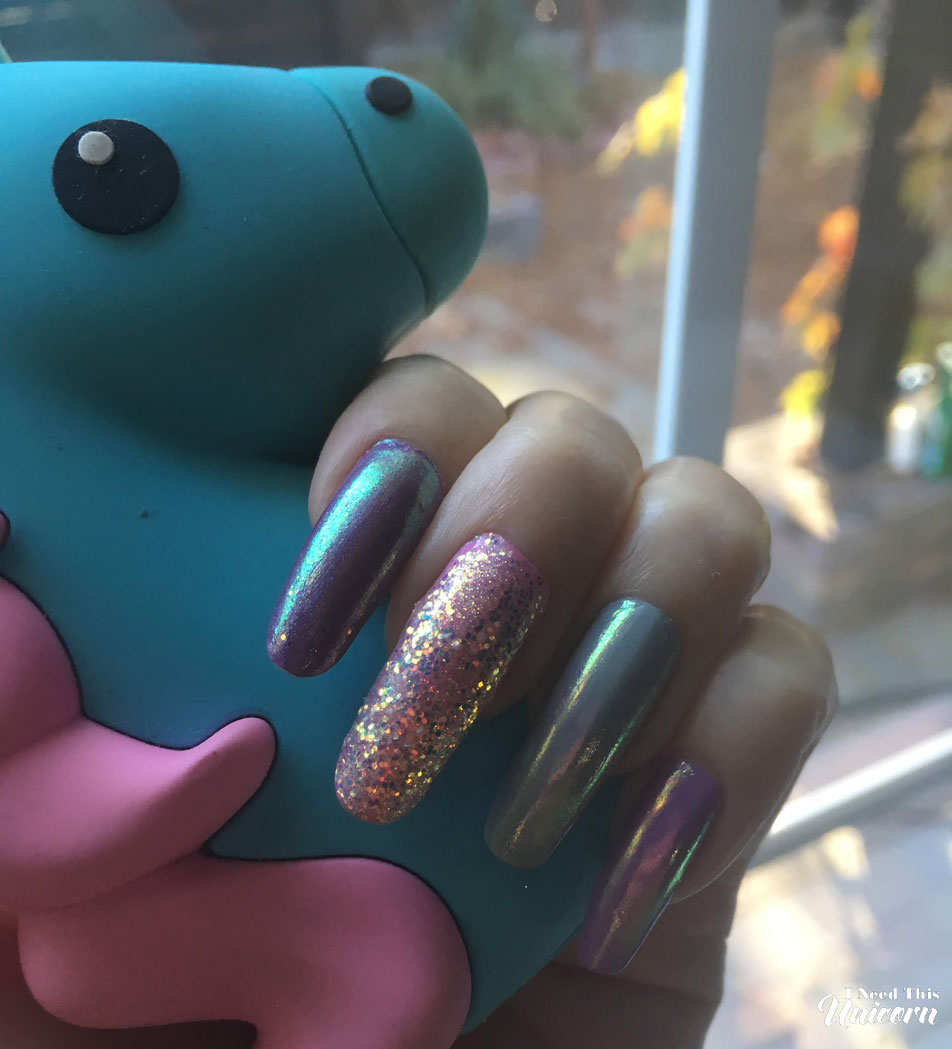
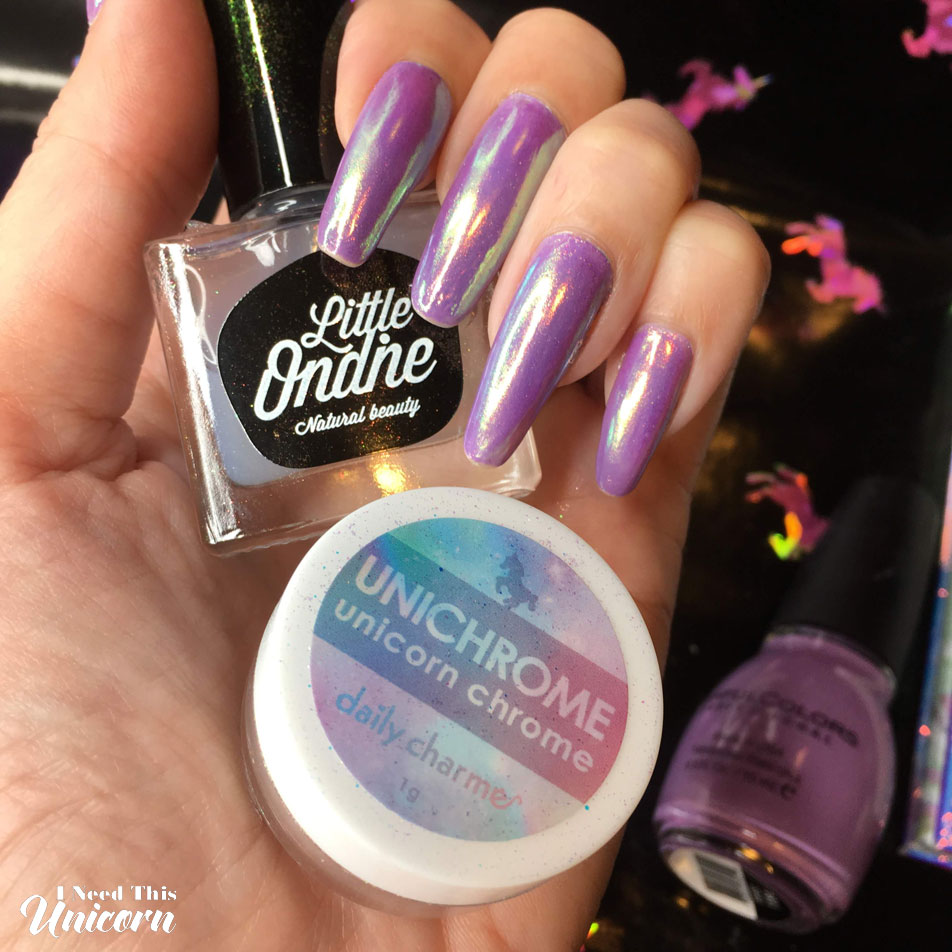
I get asked about my manicures a lot, so this deserved an entire blog post. So if you came here because I gave you my card, Hello! It was nice to meet you! Here are the exact products I used so you can get magical unicorn nails too! Otherwise, you may have seen iridescent nails and wonder what nail polish do I need to achieve this effect? Regular nail polish won’t cut it. Well, it’s not a polish… but a powder!
Nail powders are meant to be used with gel polishes, the effect fails when used with a regular polish. For one, it may not buff on because it doesn’t have that rubbery feeling base. When a regular top coat goes over the buffed powder, the effect get ruined and is no longer chrome, iridescent, holo, etc. If you skip the top coat, it will just wash off immediately.
You can do this the traditional way and use gel nail polishes, but I found them extremely drying and damaging to my natural nails. First you had to dry out your nails with alcohol. The gel process wasn’t terrible, but took getting used to. It’s definitely not as forgiving as regular polish, the drying time sure has it beat. But any error, and pooling at the sides of you nail, will make the entire thing look untidy.
Then there is the removal. Either I soak them in acetone and scrub at them for two hours, which is very drying. Or I force peel them off, which rips off layers of your natural nail and makes them damaged, thin and weak. I had to stop using gel!
So to save my nails from breaking, I looked up other ways to make nail powders work. And there is a solution….
a water based top coat!
I then discovered Little Ondine Water-based Peel on Base and Top Coat
It peels when dry so you may want to use your regular top coat over it to preserve your mani.
You only need to buy the two products for your unicorn nails. You probably already have a base, top and plenty of colors already!
Unichrome Powder by Daily Charme
Little Ondine Water-Based Peel off Base and Top Coat Nail Polish 2 in 1
Edit: January 2022- I have been featured on the Today page of Pinterest. So I think I better update you all!
Little Ondine went out of business in 2020 and we can no longer get this top-coat. I have tried another brand, but it doesn’t work as well. It works…. but the finish isn’t as flawless. If I find something better I will edit this post and tell you exactly what it is.
Also the affiliate links no longer work. I do not make any money from this post at all.
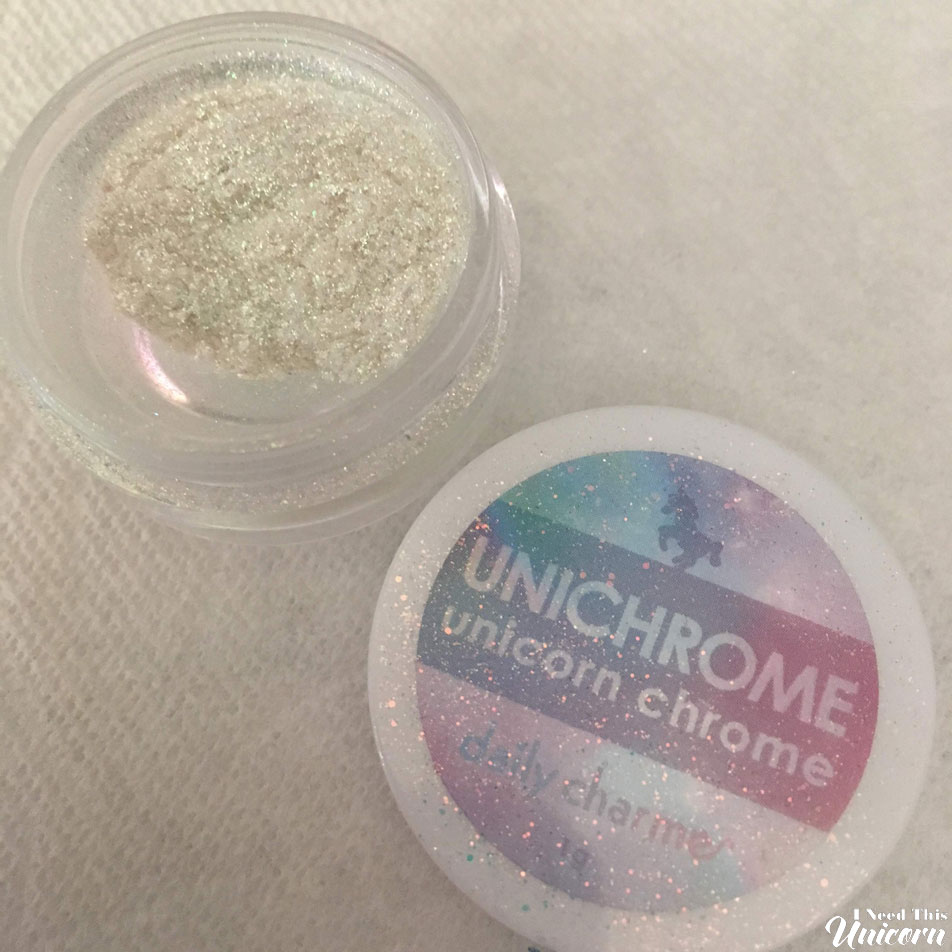
There are other nail powders, but I am only familiar with the one sold by Daily Charme. There are professional ones such as Indigo Nails, but you can only purchase these if you have a cosmotology license. There are cheaper nail powders from Asia, however, I have not used any and cannot tell you about their quality, so I won’t use an affiliate link for something I have not tried. But you can search for them on Amazon.
While using your finger to buff in the powder is effective and is free, if you have long nails, dipping your finger into the pot may be challenging. So using a sponge tip eyeshadow applicator or a silicone nail tool might be more helpful to you. Also, the silicone applicators can be useful for correcting mistakes and cleaning any pooling of the polish on the sides of you nail. Especially with gel nail polish! I have linked to two different sets on Amazon, but blue set is the one I use myself.
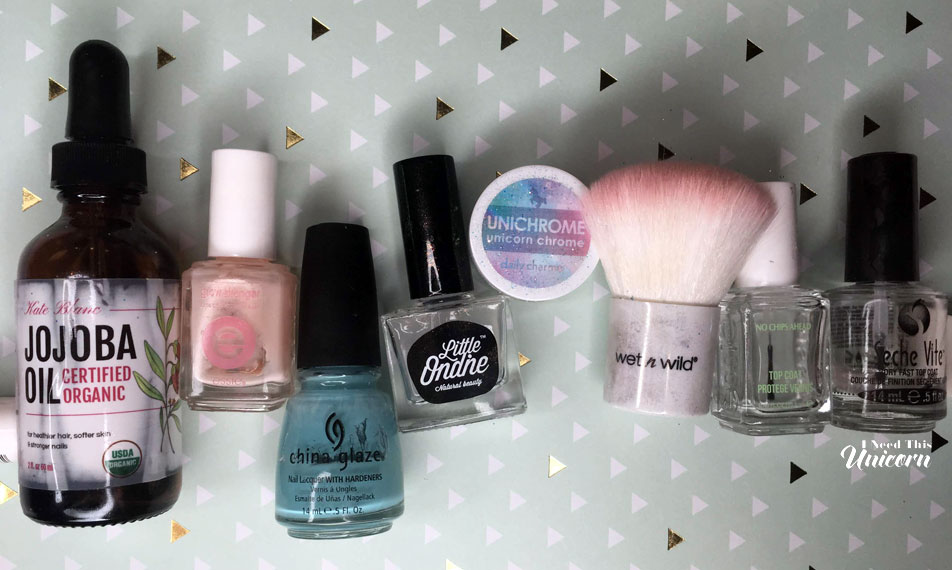
For the Essie products, I like to buy mine at CVS. I get coupons/Extra Bucks all the time, and sometimes I get ones for buy 2 get one free! I think my favorite base coat called Grow Stronger got discontinued because I can’t find it in the store anymore, so I just bought the transparent green base coat called First Base.
For nail colors I wear, I will wear any brand. From drugstore to indie to department store brands. Lately, I have been loving indie brands because they do the best holo polishes. But for flat creme colors, any drugstore brand will do!
As for nail powders, I have tried other types from Daily Charme (not sponsored). I took advantage of their Black Friday/Cyber Monday deals and got a few pots. The chrome powder gives your nails a mirror finish. I kid you not, you can see yourself in your own nails. It’s silver, and didn’t take on the color of the base color underneath. They have other colors too.
I also used the Aurora Fairy Dust Magic glitters. They come in different sized glitters. I bought this in a set of three in the holiday sale. They are fun to use and don’t require gel. The glitters are featured in a few photos in this post.
Even though I have plenty of holographic nail polishes, I want to try the Holographic Unicorn Powder.
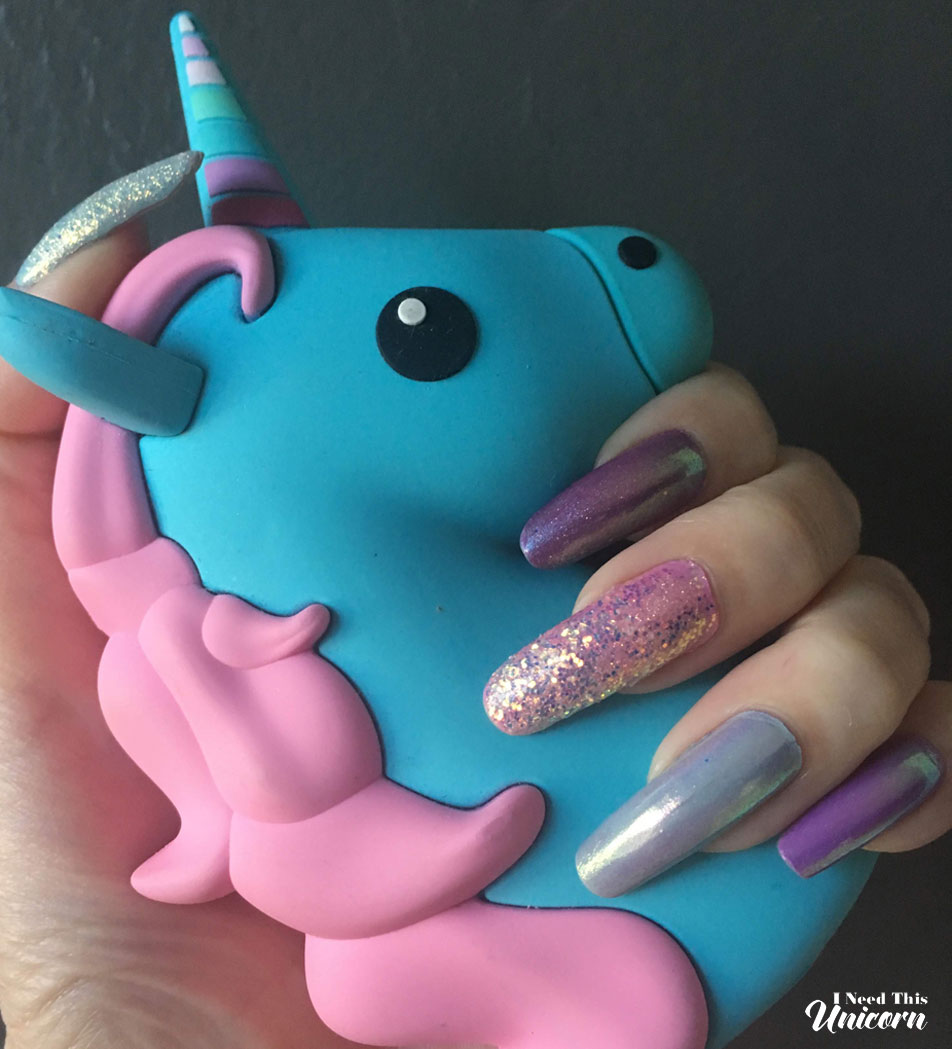
How To Get Iridescent Nails Without Gel Polish:
Step 1: Start with clean nails, and then oil them up, let it soak in. This prevents them from being too dry and nourishes the nails so that if you do run into something, they will flex instead of snap. It still hurts, they still might get a tear, but it wont be as drastic.
After you feel like the oil has absorbed into the nails, you can wash your hands.
Step 2: Base coat. You can do 1 or 2 coats if you want.
Step 3: Pick a color, any color! Also use as many coats as needed. I tend to go for 3. Give them plenty of time to dry between coats, so they don’t bubble. Let dry.
Step 4: Apply a water based top coat. I am using Little Ondine Water Based Base and Top Coat.
Make sure you hands are clean because you can’t wash them for an hour because this top coat is not supposed to get wet. Let that dry. If you don’t, you run the risk of smearing the polish when you buff in the powder.
Step 5: Apply the Unichrome powder (or any other nail powder like chrome or a holo) with your finger, a sponge eyeshadow applicator or a silicone applicator. Honestly, your finger does the job.
Step 6: Use a brush to dust off any excess powder on your fingers. I use a Wet N Wild kabuki brush to brush off the excess off my fingers. If not, the extra powder that isn’t buffed will get wet and causes streaks. So dust that excess off! The buffed powder wont brush off, but it definitely can wash off! So don’t let your hands get wet until the final seal dries!
If you didn’t use an applicator tool, your application fingers may have caked on powder. Feel free to use a wipe or scrub your finger on a paper towel if you can’t stand it.
Step 7: Apply the water based top coat again. Let dry. Don’t let water get on your hands yet.
Step 8: Final Top Coat(s). I personally use two more top coats to seal it all in. The first, a no-chip and the last a fast dry.
While you can let the water based top coat be the final coat, by the next day, your mani will probably peel off. Nope, you can’t have that!
I like to apply my normal top coats to seal it all in: the first is Essie Chips No More. This takes forever to dry. So I apply a speed dry top coat like Seche Vite after waiting long enough for it to be semi dried. Remember: don’t apply one polish right over the other while it’s still wet. It will bubble up. Also remember to cap the edges of your nail to prevent it from chipping sooner. Doing all of this makes it last several days to a week!
Step 9: Let the compliments roll in!
As far as removal: After a week, the edges will probably wear down from impact, oils and water. You will be able to peel off the top layers and you will probably want to because it will take a lot longer to remove the Little Ondine with nail polish remover. It’s not impossible, it will still remove it, but peeling is faster and satisfying. The bottom layers can just be removed normally with your favorite polish remover. Use an oil after removing the polish to rehydrate your natural nails.
If you want a tutorial for the gel version, I may not be the best person to ask. I tried gel nails for the very first time last December. It was a trial and error learning process! I didn’t realize I was going to have such difficulty since I have been doing my nails nails since I was 12. But gel is a very different medium. It’s like going from watercolor to oils. They must be treated differently. If you still want to go the gel route, I would follow the instructions from Daily Charme.
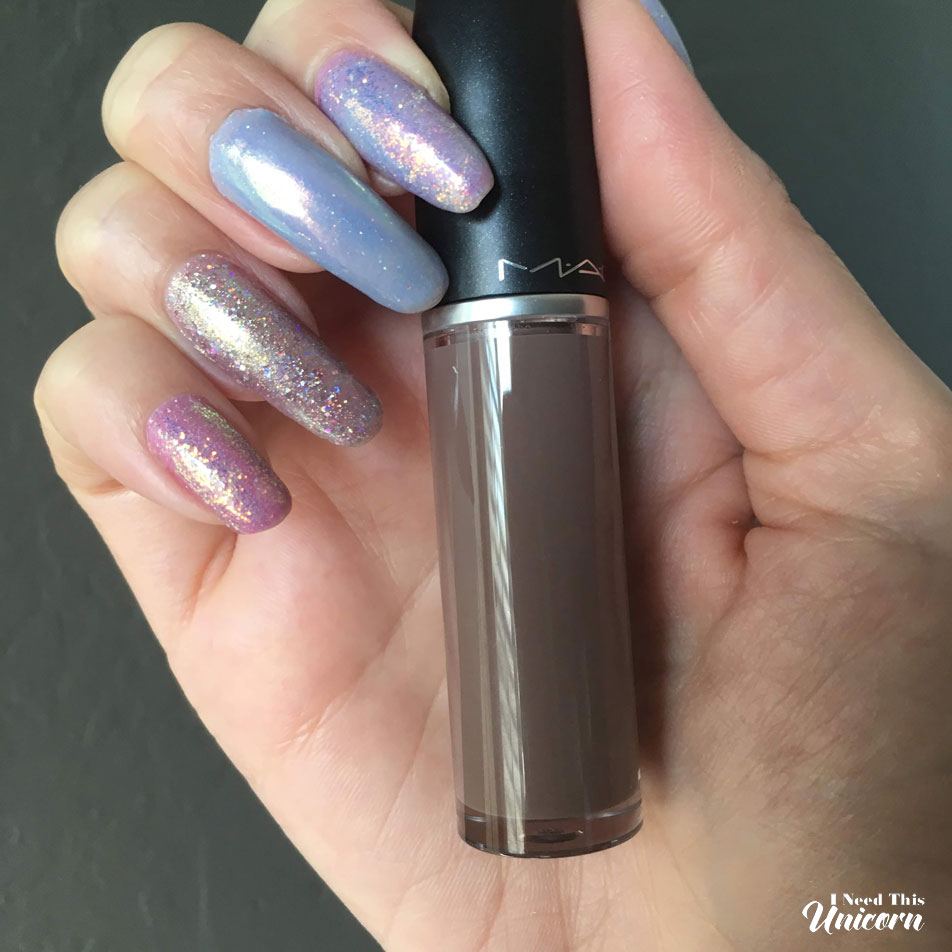
For your reference, I tried to be helpful and show you the Unichrome over various colors and textures. Still photos never do it justice, you need to see them move in person and in direct sunlight to see the full effect.
I used 40 different colors with a mix of creme, matte, glitter, holo, and chunky glitter so you can see what finishes and color the Unichrome looks best with. Honestly, it’s up to you. I prefer them over flat colors and lighter and colors leaning more pastel. I think that layering them over anything super textured like a super glitter isn’t that effective as the glitter is enough. Layering them over a black or another really dark color makes them look like a beetle. You might want that though!
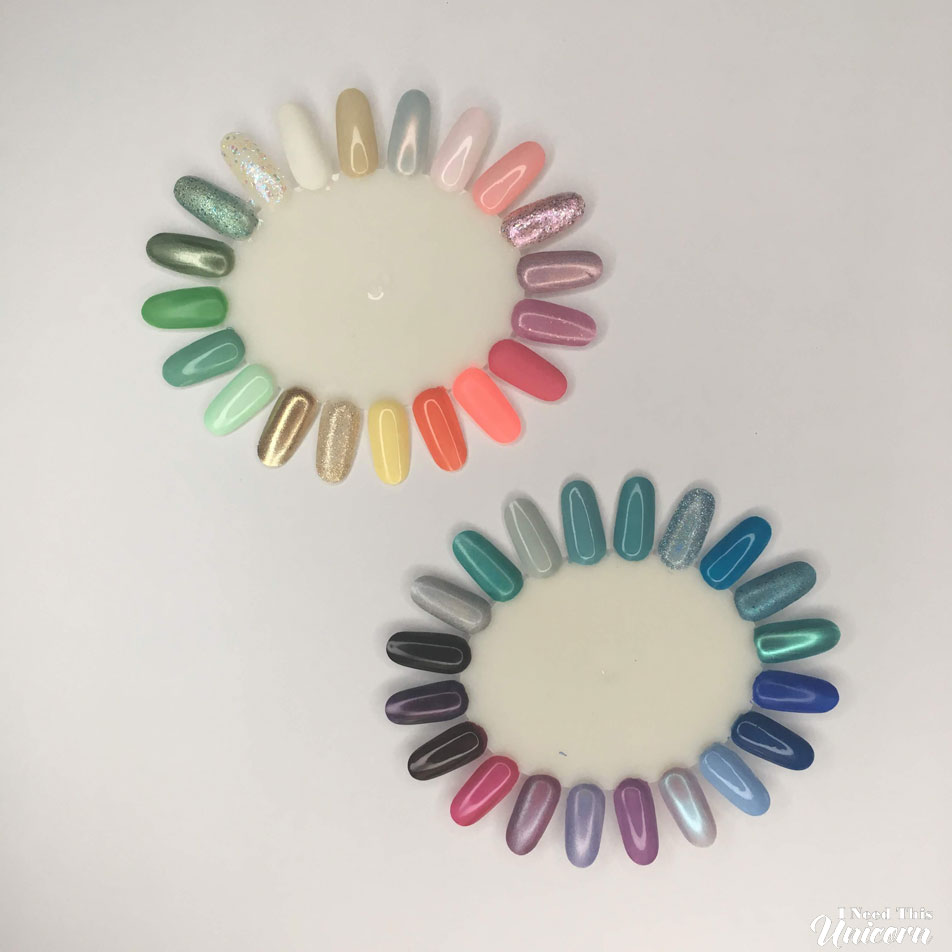
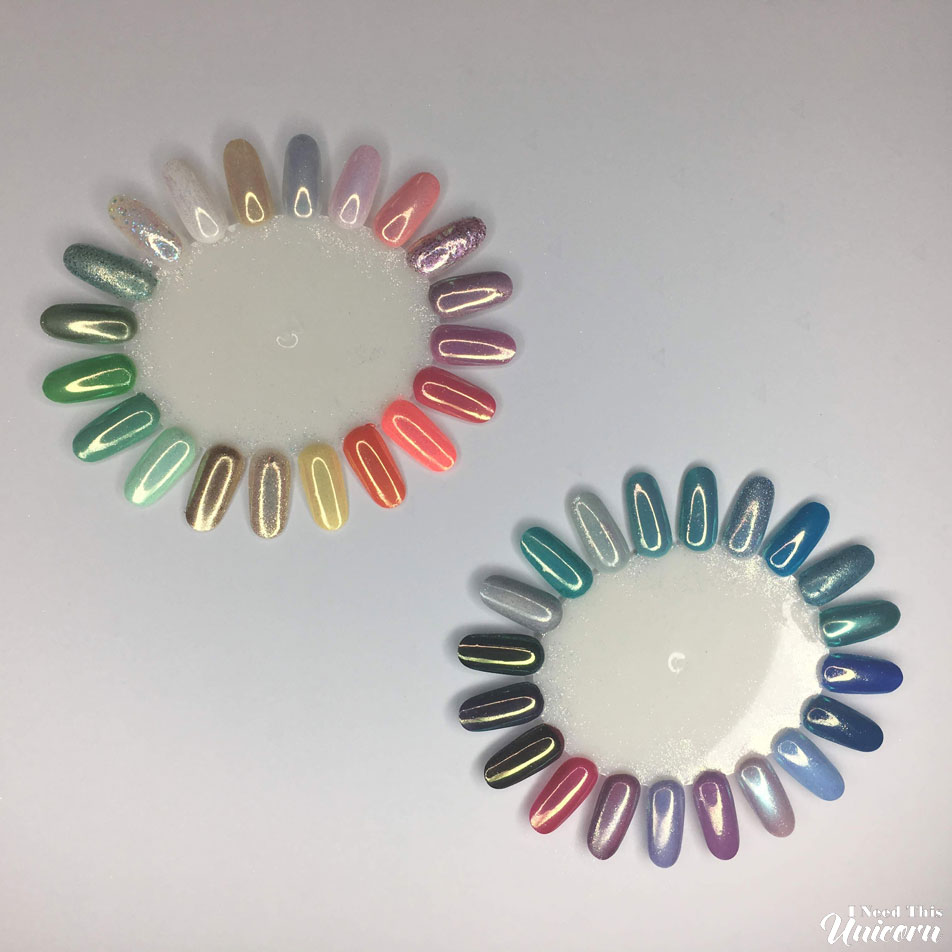
Experiment with different base colors. I like using duochromes with the Unichrome. You can get extra fancy and make each nail different. I like to make one or two super glittery. Try using a matte top coat on a solid color for more texture variations!
Or try and ombre, layered with Unichrome and then chunky iridescent glitters over it, as pictured.
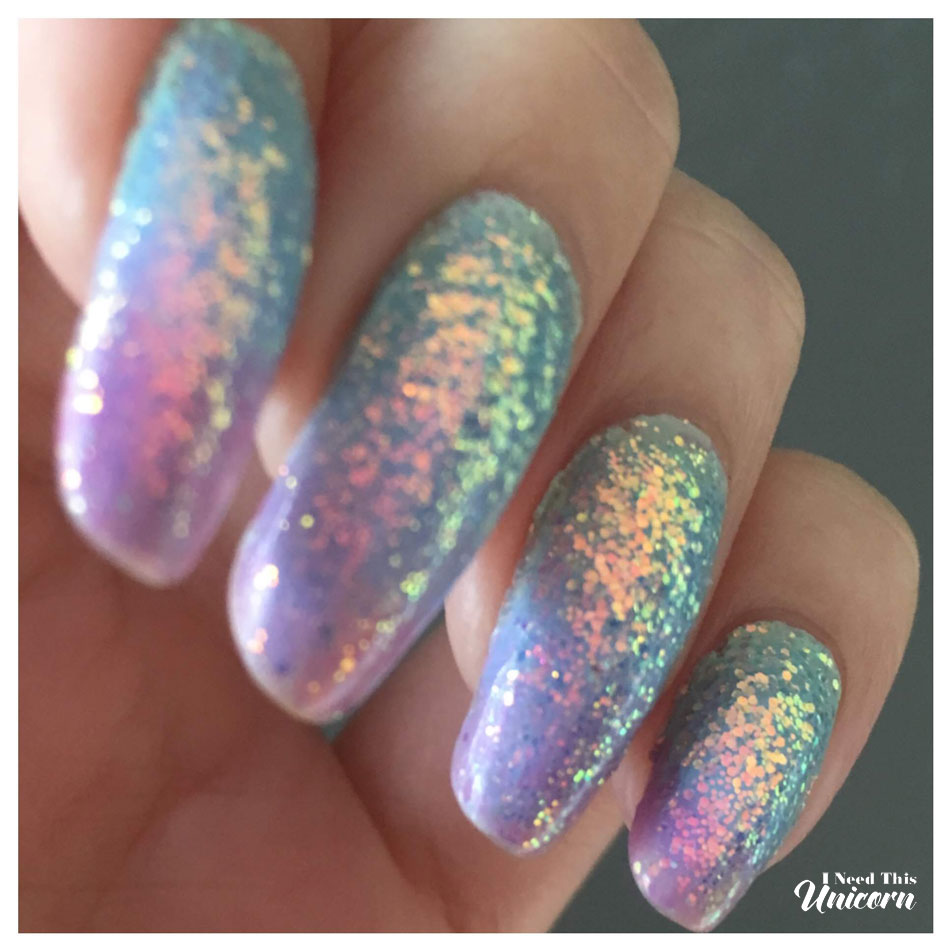
The peel off top coat is great for glitter! You will save so much time removing your glitter polishes by sandwiching them in the peel off base and top coat. This works with both loose glitter and glitter polishes.
I always get asked where I get them done. Truthfully I’ve never had my nails done at a salon. I’ve always done them myself. As for how I get them so long, it’s just genetics. My mom had long nails too. It’s simply a matter of not breaking them. My hair and nails tend to grow really fast. I don’t think it’s the biotin supplements, but just my genes. I call it my terrible super power.

Long nails makes playing the violin difficult though! I get asked if I even do housework with these nails. Yes, I have to! I’m also an artist and I have to cook so I am constantly washing my hands. And I pound the fuck out of my keyboard when I am gaming. They break all the time, I’m not so dainty that they don’t!
I also take biotin supplements. I hear they work best if you already have a biotin deficiency. I don’t know if it actually does anything for me, but that’s what these companies count on, don’t they? I don’t have any side effects, so in any case I am eating a delicious berry flavored chew every day. (I swear by the Beauty Busts for dry skin though!)
Cristine of Simply Nailogical has the best video on how to grow your nails. After you’re done laughing at Duck Nails, get yourself a bottle of jojoba oil. And then subscribe to her because she is hilarious and she experiments a lot, which is very helpful!
As far as getting breaks or tears in your nail, you can actually repair it so one sister doesn’t have to be short and stubby. If the tear is too big, you’re going to have to make a sacrifice. I never trim the rest down to match. The broken one will have to learn it’s lesson and just grow back to match it’s sisters.
I use the Orly Nail Rescue Kit for the repairs. The set has glue, powder and a tiny file. Though I would get a better buffing file. And you definitely want to use one! The glue is super fumey, open a window when using it! As for removal, it seems like time is the only way to get rid of it. It will either have to grow out on it’s own or it somehow chips off with either exposure to oil or acetone. As your nail grows out, it makes it lumpy with a line of demarkation, so I’d get a nail buffer to smooth out the grown out edge.
Also buff between layers or don’t apply too many layers in the first place. Your nail is going to look crazy and bigger than the rest of them.
I hope my written tutorial and other tips have helped all of you out! I get asked all the time about my nails, so I hope I answered all of your questions! If you have any more, please contact me on my Instagram account. Thanks for your interest!
Disclaimer:
This post contains expired affiliate links to products on Amazon that do not work, I do not make nay money off this post. They constantly take me off the affiliate plan that I just gave up. The Daily Charme links are not affiliate links.
I bought all of these products myself. None of these companies are sponsoring this post. These are the products I found searching online on how to get this effect and they have been working for me!
