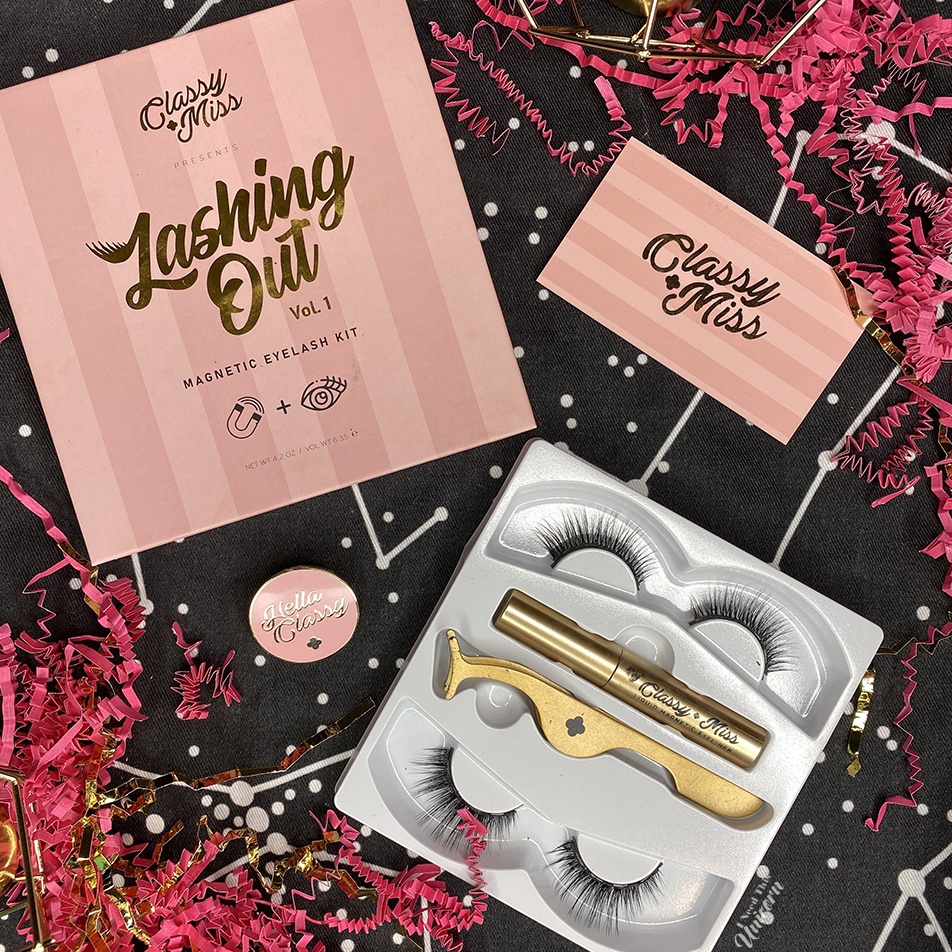
Introducing a NEW vegan, cruelty-free magnetic eyelash brand, Classy Miss!
From the Brand:
“Classy Miss began with a simple idea. Create a beauty brand that actually promotes self-love and inclusion, through producing high quality, cruelty free and vegan products. There is a trend of companies claiming these ideas, but the follow through falls short. Why Classy? We don’t mean classy in the conventional sense. You are as “classy” as you believe yourself to be. This goes for everyone, no matter how you identify. You are valuable and you are enough. No one can determine your worth for you. An odd idea for a beauty brand to promote, but we feel that you should use beauty enhancements for yourself. Select products that make you feel good about how you look and about the company providing them. Our mission is to be that company.
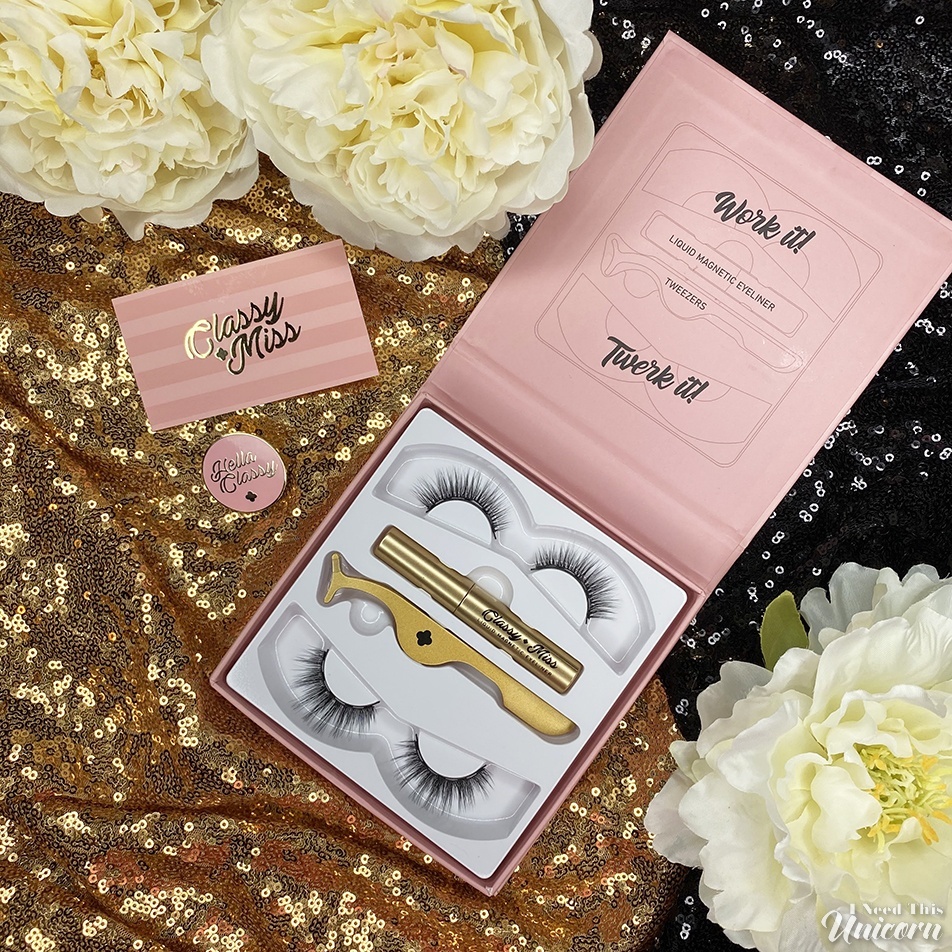
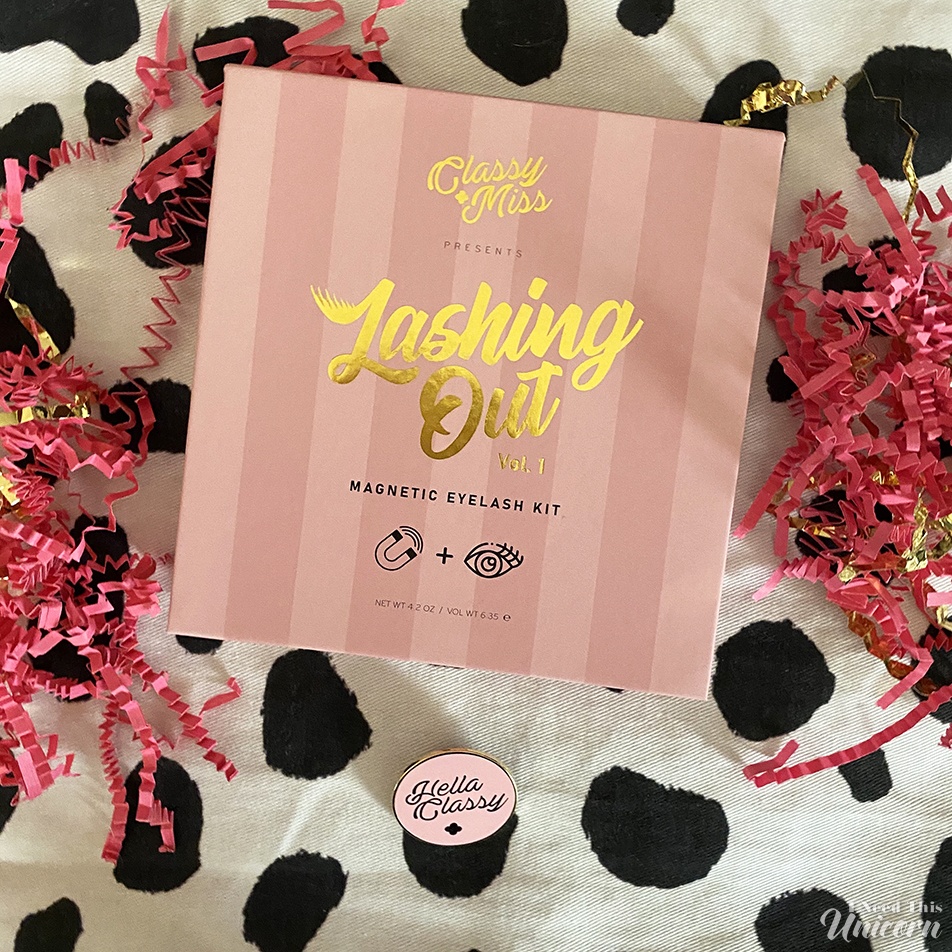
Our Lashing Out Vol. 1 Magnetic Eyelash Kit was born out of the need for options. Regular glue lashes are incredibly difficult to master and can create health issues such as eyelash loss amongst other things. We chose to go with looks and materials that are safer, can be worn and reworn for long periods of time, look natural, are light weight and don’t require the caging of small animals to produce. The specific lengths of the lashes in this kit were chosen for particular times of day. The “Work it” lashes are to enhance your day time look. Just enough length for a hint of glam. The “Twerk it” lashes, are longer and created to give you more volume for those nights on the town. Each pair can be worn at your leisure up 30 times with proper care.”
Their very first set, Lashing Out Vol. 1 is $60, and you can get free shipping with the code: CLASSYSHIP
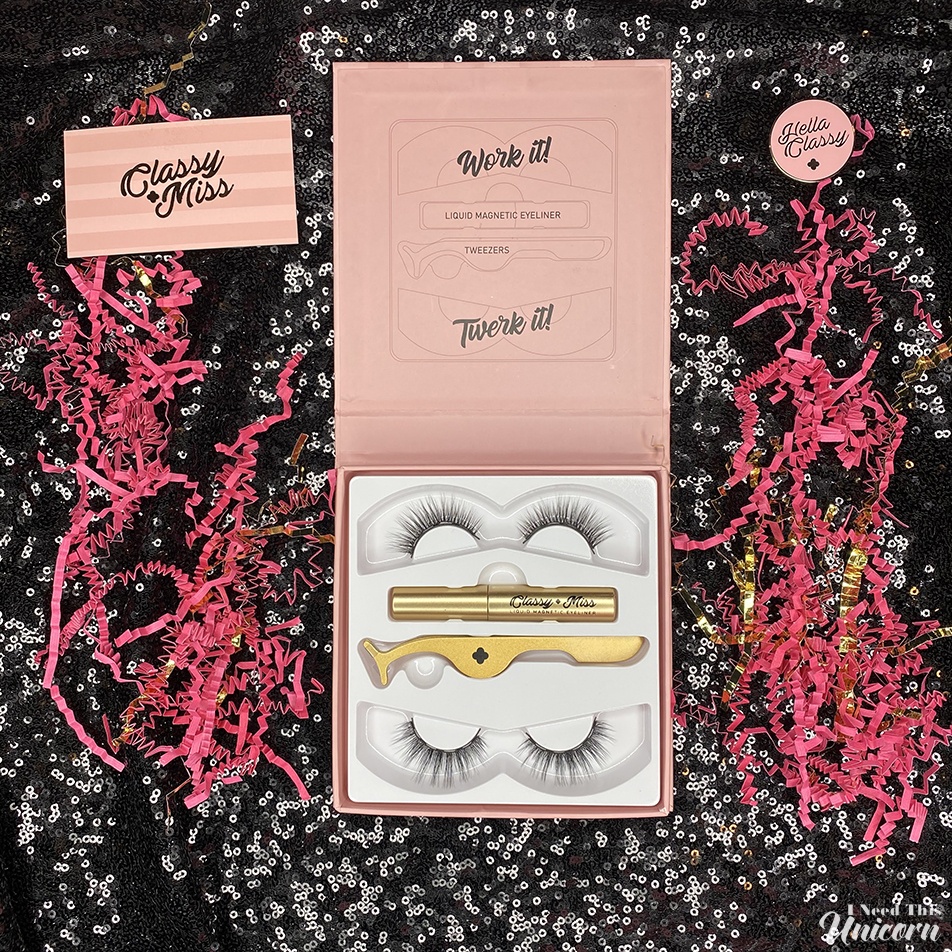
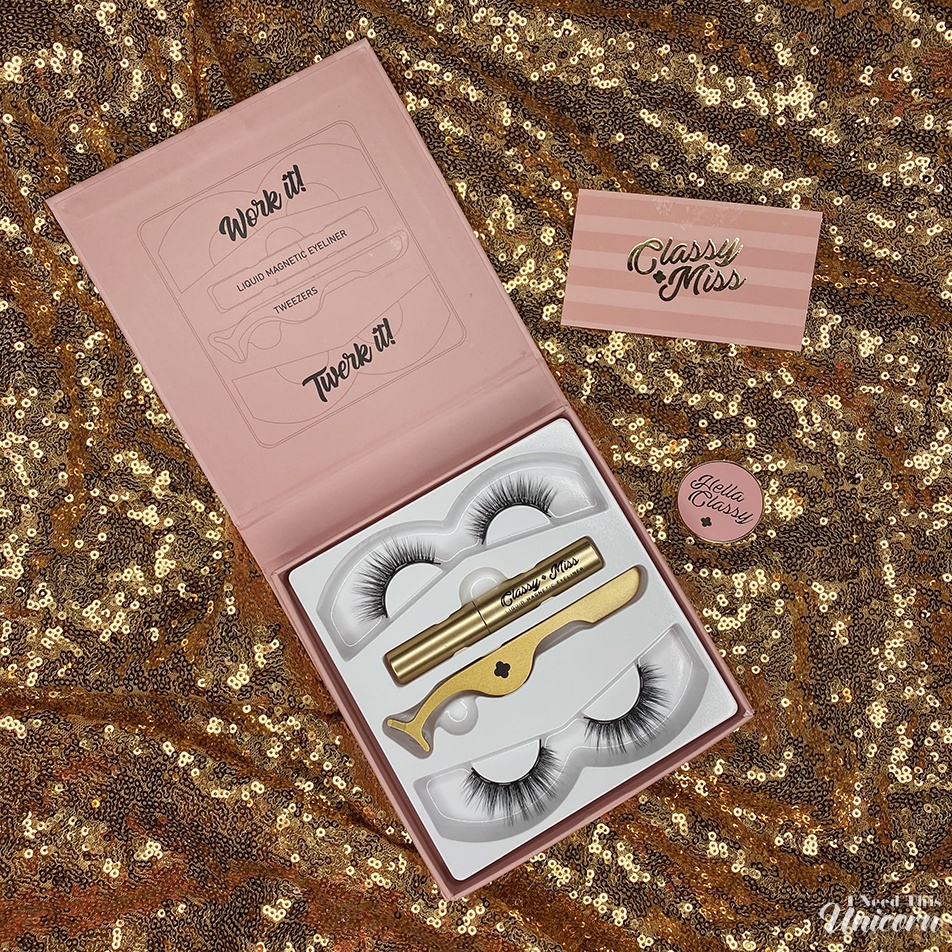
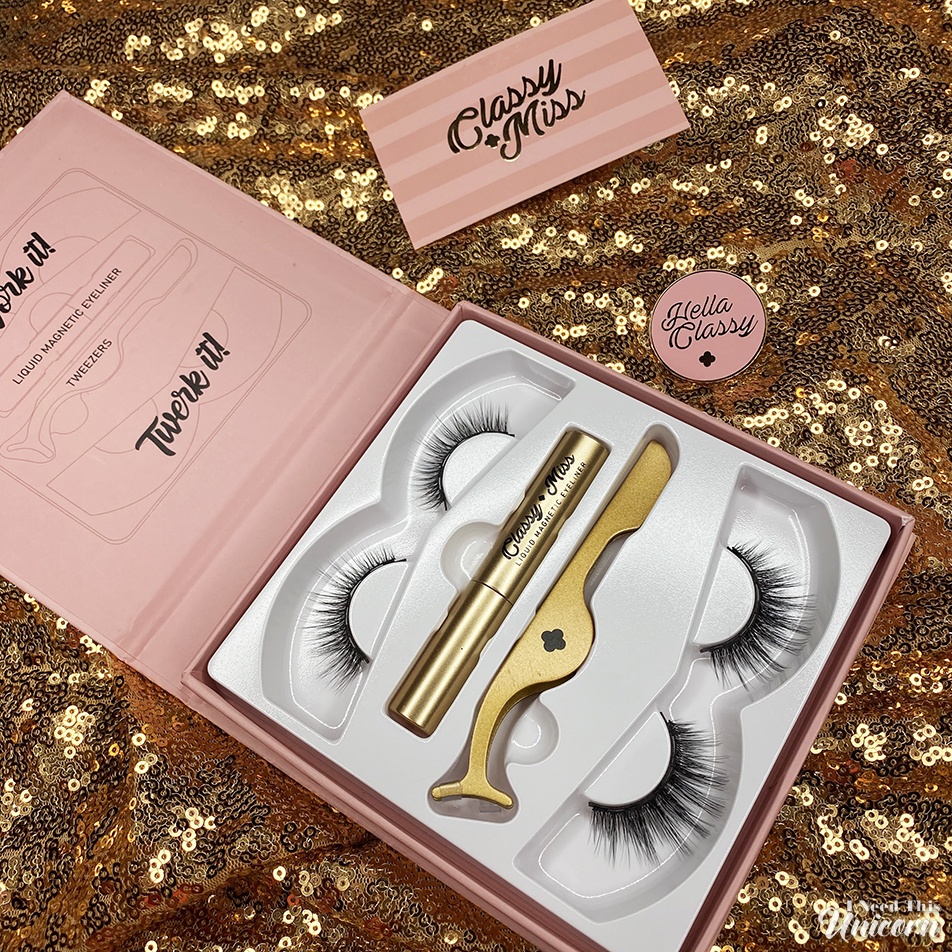
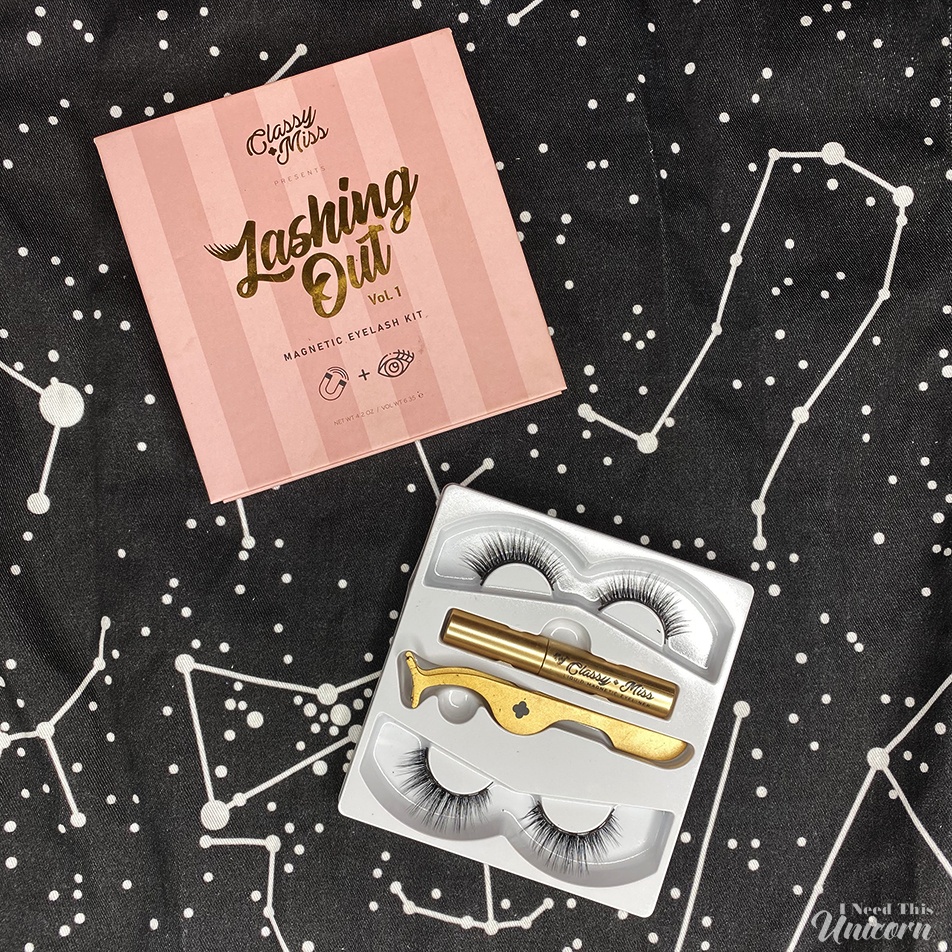
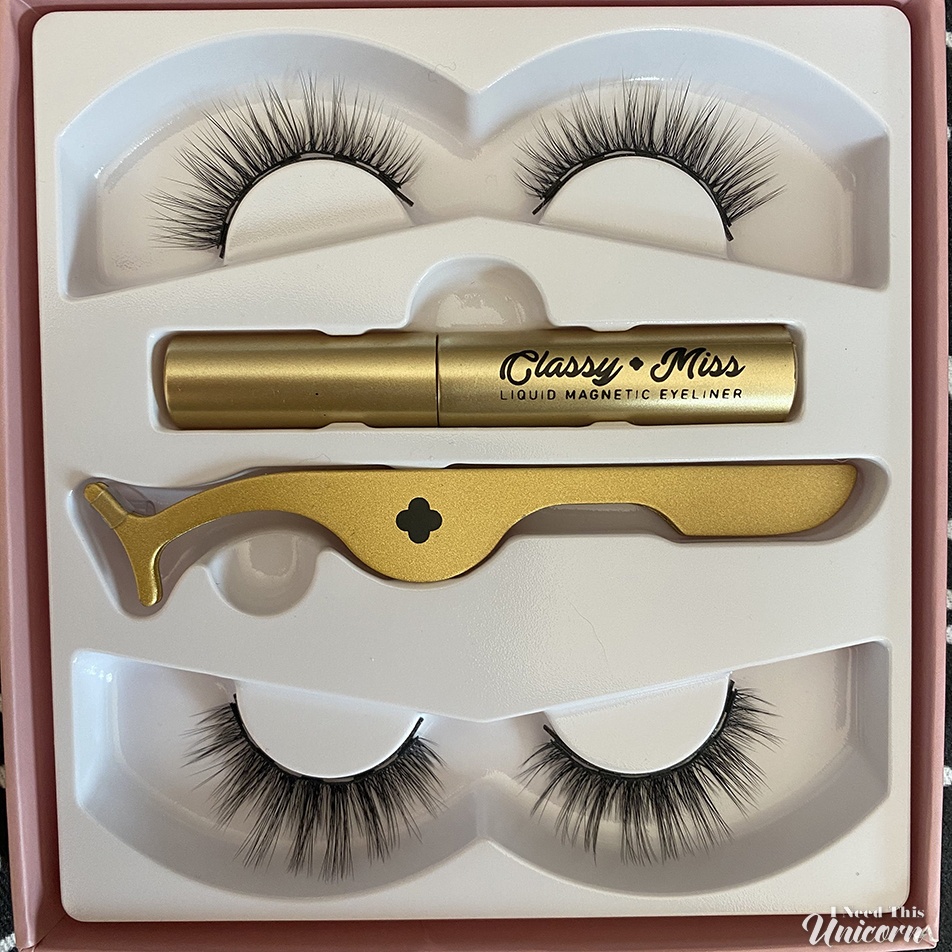
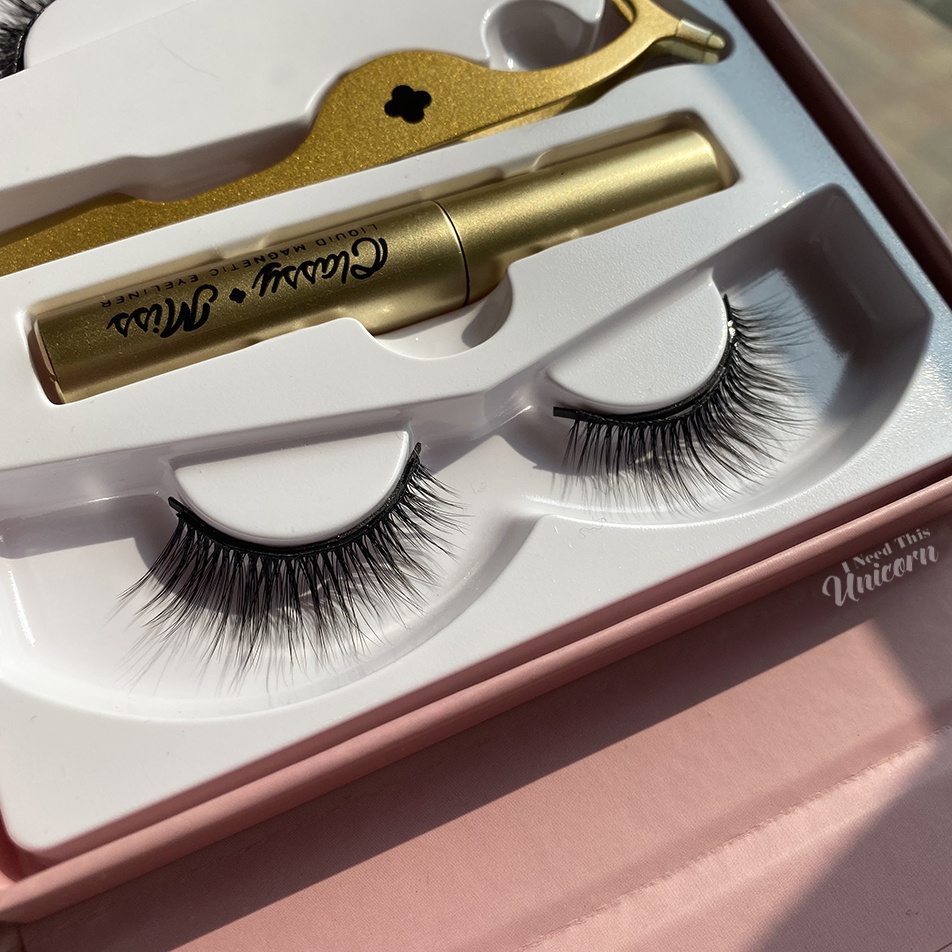
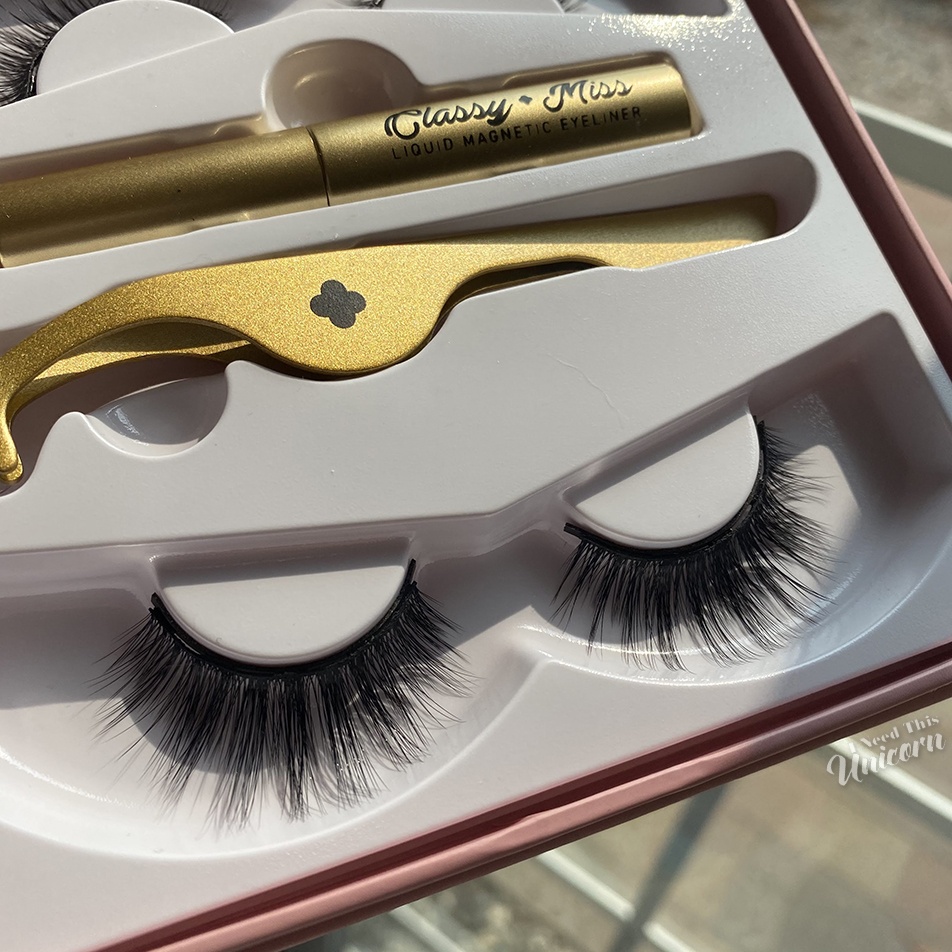
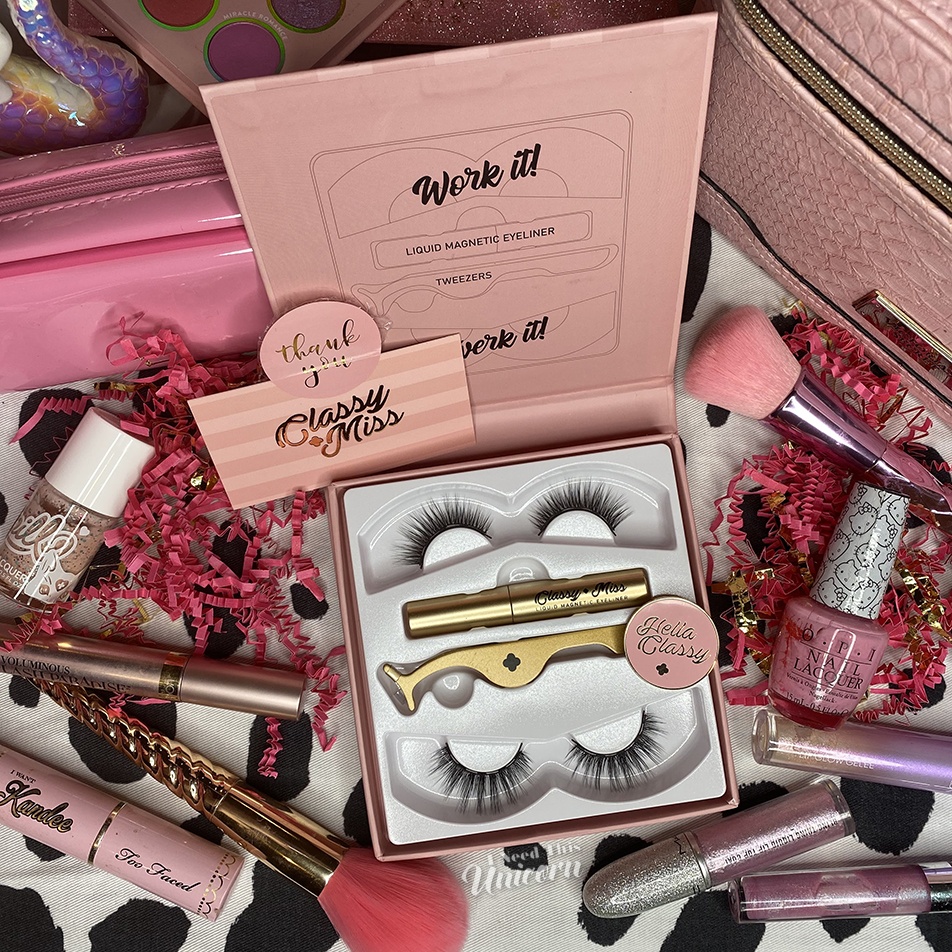
It comes with 2 pairs of lashes (for day and night), magnetic black eyeliner and an applicator which will make your life easier!
This brand was created by a friend I have known since childhood and his fiancée. He graciously sent me a set! I’m glad to be considered! Read the full disclosure at the end of this post.
I love wearing lashes, it really completes the look and gives me that extra oomph! My natural lashes are short and straight, so I feel like I need falsies. I will even wear them running errands like going to the grocery store. I’m not kidding, it gives me much needed confidence! I legit feel naked and plain without them. BUT applying lashes with glue tacks on extra minutes to getting ready and suddenly it’s already 4pm and I haven’t left the house and I need to go! Well, that’s where the magnetic lashes will come in…waiting for the magnetic liner to dry doesn’t take as long as waiting for the glue to get tacky.
If you can believe it, I’ve never used magnetic lashes before. When magnetic lashes first came out, I was very skeptical. They were the kind where you apply them under and over your real lashes and basically sandwich them together. Some reviews I had seen made them seem unreliable and there was so much room for error. However, magnetic lashes have changed the way they adhere and now magnetic liquid eyeliners are more popular. It’s already similar to glue application, we don’t have to learn a whole new skill!
Magnetic lashes should make both application and makeup removal go a lot faster. For me, applying regular glue strip lashes is this annoying step that takes extra time, especially if they aren’t cooperating. If I mess up and have to take it off, it’s adding more time to my already long- getting ready time, which if apparently an entire week if you ask anyone I know.
Packaging
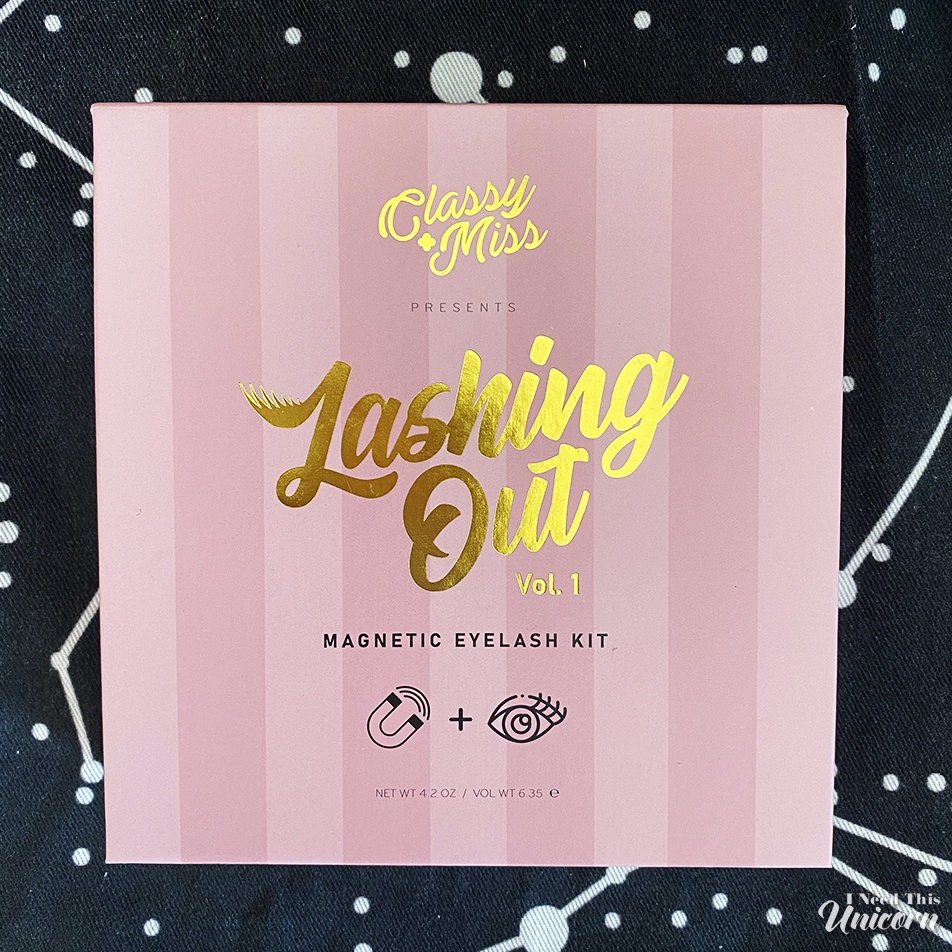
I’m big on packaging and presentation! My friend has always been an artist, and he studied graphic design in college. I am loving the packaging design with it’s VS-esque pink stripes and gold foil details. I especially love the fonts and the fact that he modified the “L” to have lashes. I know gold foil embossing ain’t cheap so I appreciate that extra special touch!
Even the presentation in the mailer was cute! It was wrapped in pink tissue paper with hot pink and metallic gold crinkle paper, which I used to accent the flat lays.
I am very impressed with the box itself! It’s a thick sturdy cardboard and will keep your lashes protected. You should absolutely keep your lashes inside this box! It’s not a throw-away box. Storing the lashes will be best inside because there is a very fine magnetic strip holding these lashes in place. After taking them off, you’ll want them to keep their shape. They’re not sticky so you can’t just put them in a regular lash case and on your fridge is a terrible place to stick them! Plus, this box is pretty enough to keep on your vanity, you’ll want to display it!
In the package was also the cute enamel pin! I like it because it’s has the word only people from the Bay Area say: “hella.“ Apparently, it originated in Oakland, which is where we are from! We kids used to say hecka when we were younger so we wouldn’t get in trouble with the adults. Well, we’re the HELLA Classy adults now!
The Concept
Day and Night- which is actually a perfect theme for their debut!
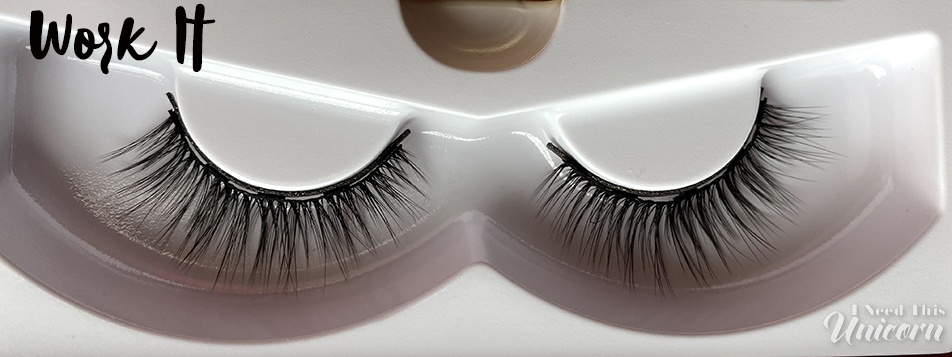
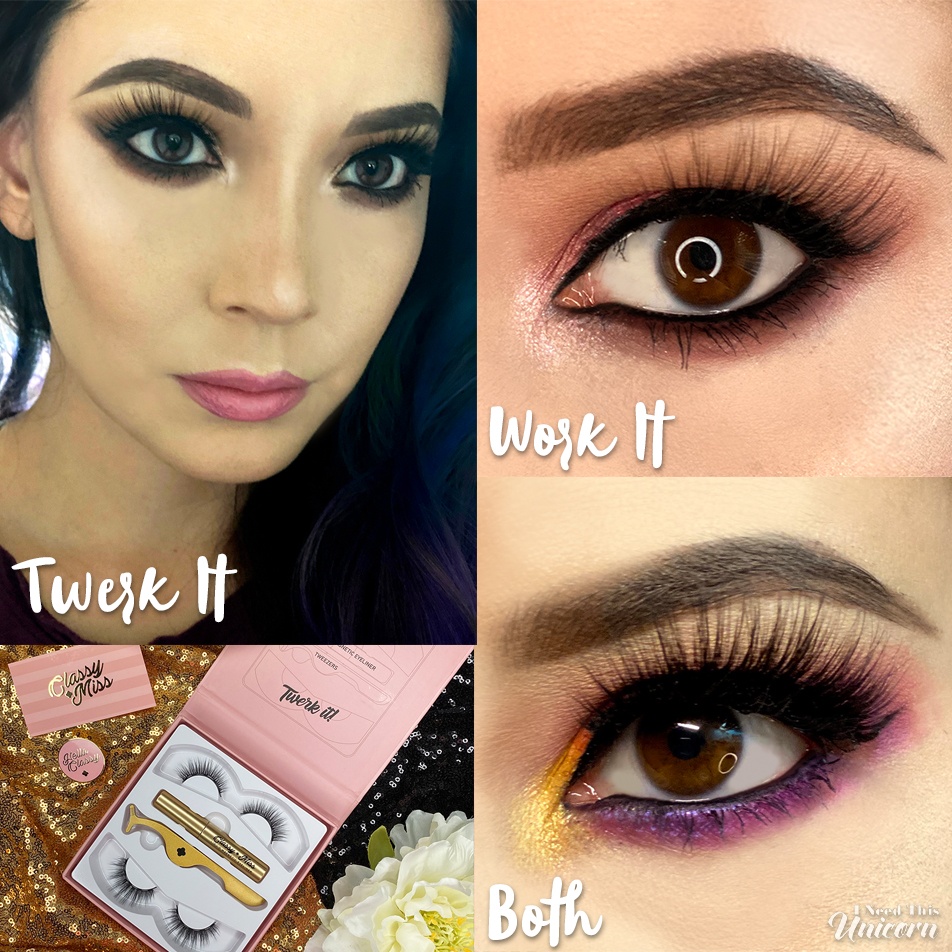
Work It- the perfect day time lash to wear to work, or shopping with friends. These flare out longer starting from the middle to the outside.
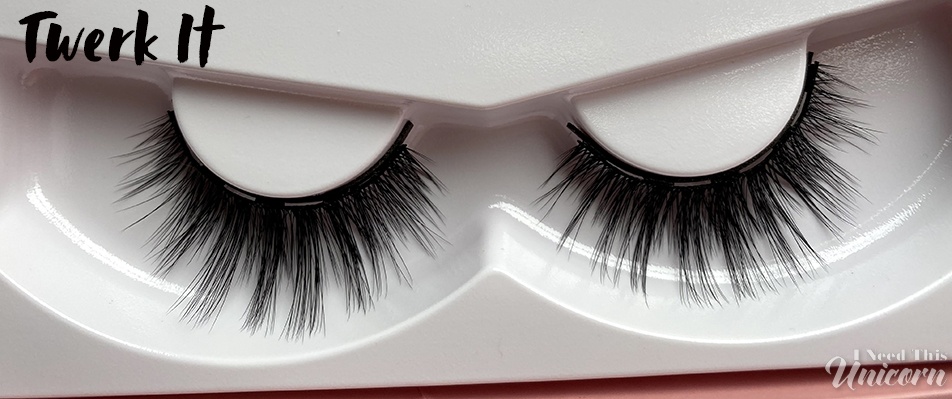
Twerk it- the evening lash to wear out to dinner, the bar or the club. Or for me, to the grocery store. These ones have a rounded shape, with longer lashes in the middle.
Lash Fit
Normally I recommend holding new a lash to your eye and measure if they need to be trimmed. However, with these, you cannot just trim off the end because there is a magnet on the end. And if you trim it off, the very end won’t have a magnet and the end won’t adhere to the outer corner and then you’ll have problems.
What I did to solve that issue was to just move the lash more toward the inner corner than I usually do. Normally I don’t do this because of poking, the band will poke me and the lashes will tickle. But shocklingly, I didn’t have this problem at all! I think it’s because the band is so fine that I didn’t have an edge to poke me every time I blinked.
If your eyes are smaller than mine, you’ll have to trim them to the next magnet. If they’re too short, you can use the extra piece that you cut off and do some overlapping. Otherwise you can treat it like half lashes and apply it more toward the outer corner.
Prepping Your Natural Lashes
I have super straight lashes, so I must curl them and use a waterproof mascara to hold the curl. I’ve learned that I must not over curl when I want to wear false lashes that day. If I do, it makes the application much more difficult because they get in the way. It also doesn’t blend well with the falsies if my real lashes are too curly. You have to curl them just right to match curve of the false ones. It will take practice to see exactly how much you need to curl. Trial and error, friends!
I also have learned that you cannot go hard on the mascara if you are wearing lashes with super fine hairs, such as Work It. With thicker false lashes, you can, but not the wispies. I’d go for a mascara that gives you fluttery results, rather than volumizing for these particular styles. Waterproof L’oreal Lash Paradise is what I used personally. I believe it’s the condensed bristles and the drier formula that gives it the fluttery, non-clumpy look.
I would however, NOT use any mascara on the false lashes! I’ll never be able to clean them and it reduces its lifespan. Probably to one use.
Eyeliner Application
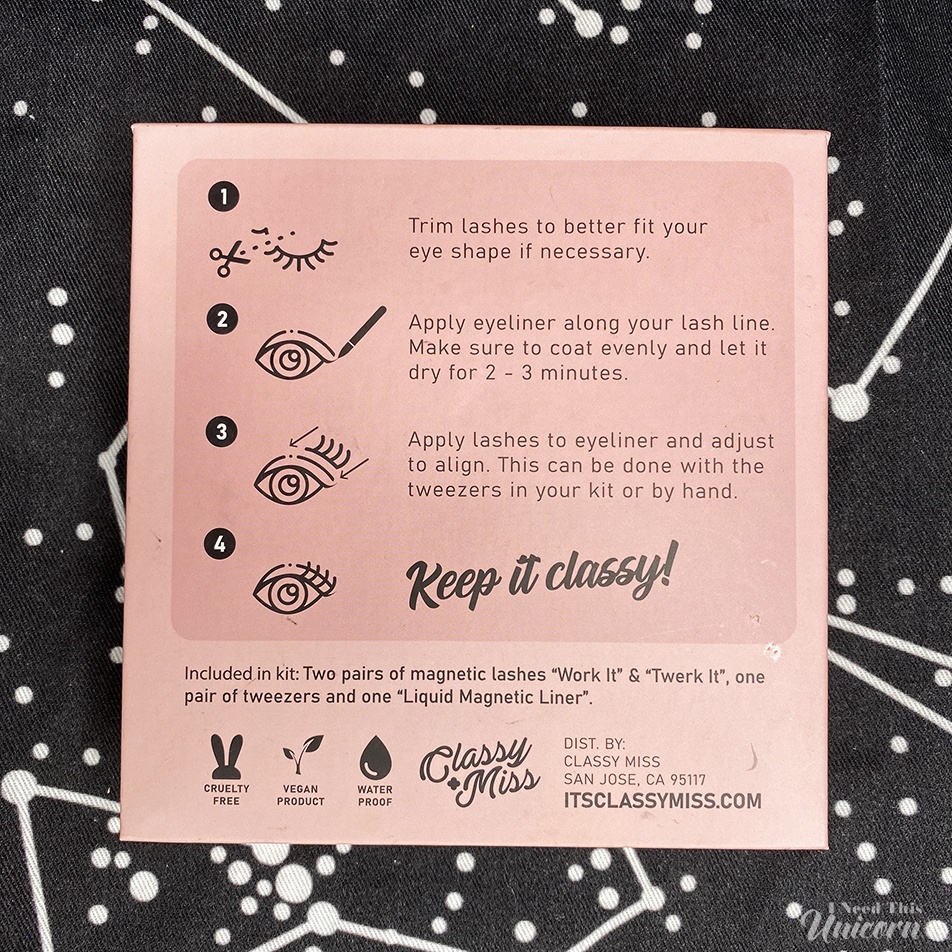
Apply the liquid eyeliner exactly where you need it. A thin line right at the lash line. I’d wipe any excess liquid on the brush, on the inner edge of the bottle to avoid mistakes.
If you want to wing your eyeliner or do fox eyes, I’d recommend using your normal eyeliner first. You won’t want to use the magnetic eyeliner to wing your liner because your lashes may get attracted to the wing when you need that end to curve to your eye. So only use the liner exactly where you need the strip to adhere to!
If you are going to apply it to close to your tear duct, wipe off the excess on the edge of the bottle, so you don’t have iron oxide liquid leaking into your eye. Just be mindful of that and you won’t have any issues. I haven’t had any problems with the liquid liner harming my eye. It’s just the visual of liquid liner pooling in my eye…
Always let the magnetic liquid liner dry before applying the lashes. You’ll avoid smearing this way!
If you will be doing a thick liner, be sure to do that with your normal, non-magnetic eyeliner. You want as little room for error as possible and you don’t want to lash to attract in the wrong place, far away from your actual lash line.
I personally use KVD Trooper or Maybelline Master Precise liquid eyeliners. To get thicker looking lashes, I always use a black gel liner on the waterline and tightline.
I love that the liquid liner included is a pitch black. I always go for the blackest liners and mascaras. I don’t like a weak liner. I have included a photo of the ingredients list just in case you have any allergies to certain chemicals, you know what’s in here before you buy!

Lash Application
This is where the applicator will become your best friend! You can always use your fingers instead to adjust the lashes, but make sure they’re clean!
These being magnetic makes it way easier to re-adjust the positioning of the lash! With glue, if I need to shift it over, I most likely end up having to take it off and re-glue it. When I do that, the liner gets messed up so I have to touch that up. But not with these!
TUCK. IN. THOSE. CORNERS. Seriously, if there is any lifting at all, you can use the back of the applicator to push them in. If it’s not sticking, you may need to reapply the magnetic liquid liner exactly where it’s not sticking.
The band can look shiny, so what you’ll want to do is take a regular black eyeliner (not the magnetic one!) and go over the band with it. A gel, pencil or matte liquid liner will work. You may need to do a touchup to blend that band into your liner so there’s no separation.
To get your natural lashes and the magnetic ones as blended as possible, use the applicator to squeeze them together, so they look like they are one. If you natural lashes look like they are going in a different direction (which can happen if you happen to touch your lashes a lot when applying the false ones) use a lash comb or a clean spoolie to re-direct them.
Wear
I’m so used to wearing lashes that it doesn’t bother me to have things attached to my eyelid. People new to this will definitely have that weird there’s-something-on-my-eyelid feeling. Can’t be avoided, they’ll just have to get used to it. To me, these were super light. I’m used to heavier lashes with heavier bands, so both pairs were actually very comfortable to wear.

Work It-
These are very light and will give you a wispy, long lash look. To me, they’re definitely a more understated lash. These are great for those new to false lashes and want length but aren’t used to the impact of bolder false lashes. Or if you want to wear them to the office, and it’s not the type of place to go over-the-top.
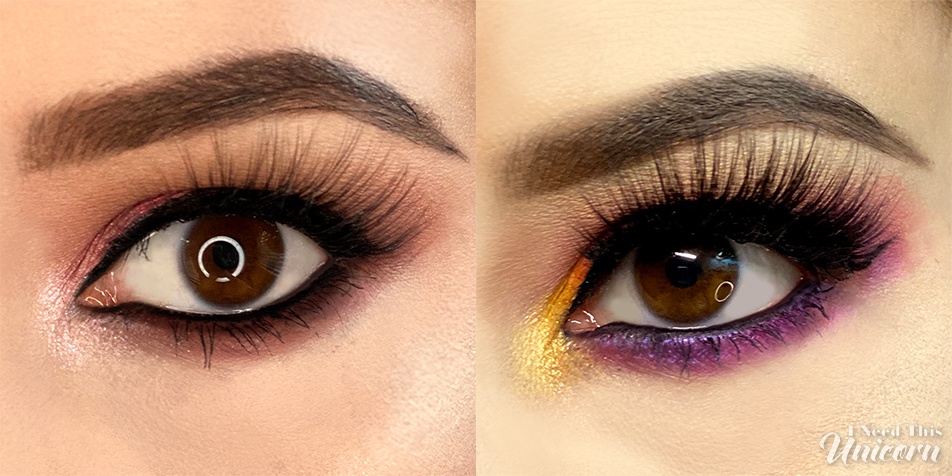
Twerk It- I like a bold impact! If you’re new to lashes, you get used to it and may even go bolder and bolder as your style changes. My eyeshadow looks tend to be heavy, so a thicker lash style, like these go with it well.
Layered-
These can definitely be layered! Just stick one lash over the other, they’ll stick together! Then apply on your lid as normal!
I like bold lashes that are long and flare out at the ends. So Work It and Twerk It combined it gives the the extra drama I crave.
A concern for most people will probably be: “Will this actually stay?”
Well, I put it to the test! While I cannot test it out at a metal concert this year, I did shake my head around vigorously to see if they moved. Just the inner corners detached. Probably from the eye squinting. The good news is, they’re magnets so you can just attach it back on. But it didn’t end up in my hair, which was the concern.
Removal
This was super simple it barely needs explanation! Removal is much better because I don’t have any glue on my real lashes to pull them out! Have you ever ripped out your lashes? Ouch! A huge bonus: There was no picking off glue out of my lashes the next morning! I swear even with oil makeup remover, I am still picking out glue the next day…
As far as removing your eye makeup, I always use Almay Longwear & Waterproof Eye Makeup Remover pads. My esthetician introduced me to these and it removes stubborn waterproof mascara, and it removes the magnetic eyeliner just fine!
If, for some reason, you want to remove the lashes but not your makeup, you can rest easy that you won’t have to touch up your eyeliner. When removing regular glued strip lashes, there’s always that “white” line where the glue lifted off your liner. Not with the magnetic ones!
Taking Care of Your Lashes
These lashes can be re-used over and over again. I think the fact that there isn’t glue to pick off increases the longevity. For me, picking the glue always weakens the band and suddenly the whole thing comes apart. We don’t have that problem here. It came off clean!
One way to keep them mostly clean is to not allow your eyeshadow have fallout. Use an eyeshadow primer, and use a setting spray. Glitter is tricky because by the end of the day, inevitably there will be glitter on your lashes. Use a dampened q-tip to gently go over them if you see any powder or glitter after you’ve worn them.
I know many tutorials always say to use mascara to blend your natural lashes to your falsies. I never do this, it messes up the false lashes to the point that I could never wear them again. Instead I use a lash comb or a clean spoolie to brush my real lashes into the falsies. Cleaning them with oil could possibly ruin the band and detach the magnets or even the lash hairs and then you can’t use them anymore.
Always put them back into the box! There is a magnet strip inside, and your lashes will keep their shape. Don’t just leave them lying around. Once they’ve been trained to be out of shape, they’re way harder to manipulate curve again. So take care of your investment!
Purchase
itsclassymiss.com
Follow Classy Miss on social media:
https://www.instagram.com/itsclassymiss
https://www.facebook.com/pg/classymissbeauty/shop/
And the co-owners:
https://www.instagram.com/classymsmarie
https://www.instagram.com/that.hustle.tho
You can follow me too, but I’m taking a social media break. Except for Pinterest where I hit 6.3 million today. ????
https://www.instagram.com/ineedthisunicorn
https://www.pinterest.com/jeswes/_saved/
UPDATE October 12, 2020:
Classy Miss is having a GIVEAWAY for this very lash set on their Instagram! Please visit them, and follow the rules on their IG to enter to win a FREE set! Ends on October 30, 2020
Disclosure:
I do not work for Classy Miss. This set was sent to me, for free, to make promotional images for social media. I am not being paid, nor would I accept the money if offered. The brand owner is a friend of mine that I have known since elementary school. I wasn’t asked to make a review on my blog, I chose to do that on my own! I do not receive any compensation for referrals.
The opinions on this blog stated are my own. I’m not going to lie and give a positive review just because I know the owner. I would *never* do my readers wrong by lying to them! Thankfully, this product passed and I feel comfortable with my review.
The promotional images I created shown on itsclassymiss.com , itsclassymiss Instagram account and any other forms of social media, are free for them to use as they please for promotions, indefinitely. The images I gave them may be shared on social media without credit to I Need This Unicorn. I was not paid to create these promotional images for them, I’m happy to do this free of charge.

